This article originally appeared on ScooterDad.com and has been reposted here for posterity.
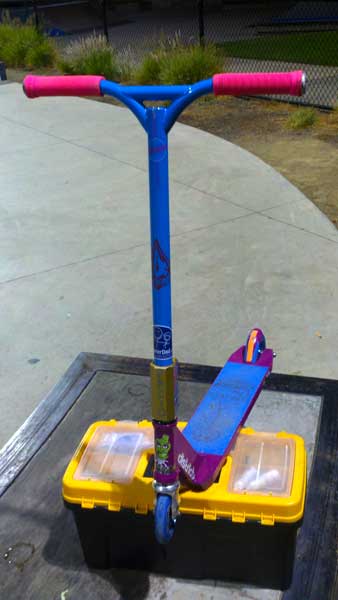
Believe it or not, this is the 3rd set of bars these pink grips have been on. Using the air compressor technique, I’ve been able to easily move them without damaging the grips.
If you haven’t installed a thousand pairs of scooter grips yet, don’t worry…you will.
Grips are usually one of the last things added to a scooter during a built and since they are a relatively minor part, it’s really frustrating to scooter kids when they have to wait for grips to dry. Traditional methods for installing grips involve using some kind of relatively quick drying lubricant to allow the grips to slip on to the bars. I have typically used a light mixture of dish washing soap and water, mostly water, to install grips. Windex can also work and I’ve heard of people using spray paint as well because it dries sticky and acts like glue to a certain extent. I would personally avoid spray paint because of the PAINT aspect of it, which can ruin the finish on your bars and over-spray on to anything around you. It’s messy and unnecessarily mars your parts.
While soap and water works great, even if you use a hair dryer to try to speed up the process, it usually takes a few hours to a day for the grips to dry and stay firm on the bars. That kind of wait time can be maddening for a scooter kid who is anxious to try out his new setup. Then one day I stumbled upon another method….
I won’t claim to have invented this method, because I’ve heard of other people using it since then, but I also didn’t learn about it from any other source before trying it. What if I used an air compressor to inflate the grip slightly so that the air acted like a lubricant? Since the air is trapped between the bar and the grip, it only has one way to go: out the other end of the grip. If you can keep a steady, high-pressure stream of air going into the grip, the thin layer of air will act like a fluid lubricant because it trapped inside the grip, pressing outward, trying to escape due to the incoming pressure of air behind it.
Safety Note
Always be careful when operating power tools. Even though an air compressor might seem harmless, point-blank discharge of a high-pressured stream of air directed at your skin can result in a serious condition known as an air embolism. Keep the air stream away from your skin at close range and wear eye protection as always.
WARNING
The following instructions describe a potentially dangerous procedure and should not be performed by children or anyone not comfortable with power tools. If you are a kid, have a parent do this for you. Improper use of power tools could result in severe injury. Always follow tool instructions and wear safety equipment.
Please read all of these instructions and watch the video before attempting this technique.
What You Need
In order to install your grips using this method, you’ll need a few things:
- A vice, workmate, or some means to secure your scooter.
- An air compressor that can handle at least 100PSI. If you don’t already have an air compressor and your kid is serious about scootering, now is a good time to pick one up. You can find them pretty cheap, around $60, at Harbor Freight and you can always find other odd jobs around the house for an air compressor.
- A blow gun attachment with a fine tip, an air hose, and the proper fittings to connect everything to your air compressor.
- Quality mechanic’s gloves or heavy leather gloves to protect your hands, if you are concerned about blisters from rubbing on the grips while installing or if you’re worried about the air stream on your skin, although you should be okay without gloves.
- Safety glasses to protect your eyes.
How To
Here’s how you can use an air compressor to easily install your grips, also shown in the video below:
- Make sure your scooter is securely mounted in a vice or workmate or some similar mechanism as you will need both hands available.
- Slip the grip over the end of the bars.
- With a freshly charged air compressor, slip the nozzle under the lip of the grip that is on the bars.
- Release the air into the nozzle spraying it under the grip, parallel to the bars, while applying pressure on the grip with your other hand.
- Continue to use the air as needed to lubricate the grip while applying pressure and work the grip on to the bars.
- Once your grip reaches the correct position, check to ensure that the end of the grip is even with the end of the bars.
- If you need to make an adjustment, simply use the air compressor again
Air Heads
With some pressure and finesse, you can work the grip on to the bars pretty easily using air compressor method. You can also remove grips safely without damaging them using a similar technique. The pink grips in the picture for this article have been moved between 3 different sets of scooter bars and they are still going strong.
Now you’re ready to be quick-draw grip installer at your local skate park! As with all of these tutorials, the better you are with scooter maintenance, the more popular you’re going to become with the kids, so just keep that in mind. It’s a gift and a curse. ;o)
Good luck and have fun with your new grips!