I love guitar effects pedals. Oh mah science, do I love guitar pedals. I love ‘em! Give me more! It’s a bit of an addiction. I’ve had a lot, I still have a lot, and I want more. Pedals, pedals, PEDALS! I think you’re starting to see the picture here: pedals = good. :)
This is the story of my latest guitar effects pedalboard build, including the successes and failures.
Inception
I have a lot of effects pedals that I like to keep on my pedalboard. Why do I like to have so many? It’s mostly because I can’t stick to just one style of music and I love having the versatility offered by lots of different effects. Also, I’m a gearhound, but you could probably guess that already. To have an ultimately flexible pedalboard, I’d need to hold a lot of pedals. Those pedals also require a lot of power in the form of multiple power supplies.
To accommodate all of those pedals, to keep them organized and usable, I’ve been building custom pedalboards for myself for a little over a decade now. A long time ago, I found a cheap sheet of diamond plate aluminum (about 4-feet by 5-feet) and I’ve mostly used that to build my pedalboards. In the past, I didn’t like using velcro to attach my pedals because 1) the sticky residue left behind and 2) they aren’t as secure as using zip ties. However, zip ties come with their own complications. It’s hard to make a board that can work with zip ties because of the grid of holes necessary for mounting. Also, your pedal placement needs to be a lot more permanent since it’s a pain to redo all the zip ties. After much personal mental strife, mostly battling with my OCD, I had come to the realization that the versatility of velcro was just too much to keep ignoring. I had accepted that I would be using velcro to attach my pedals to my new board.
Given the large size of the board I wanted to build and the fact that I don’t have the skills or tools to do much metalworking, I decided to make this board out of wood. I’m not much of a woodworker either, but I do have some woodworking tools and a little bit of experience. After making several mockups of pedalboard designs in Google SketchUp, I had learned a lot about what I wanted as well as what would work and what wouldn’t. I came up with the following list of requirements and features that my board should have:
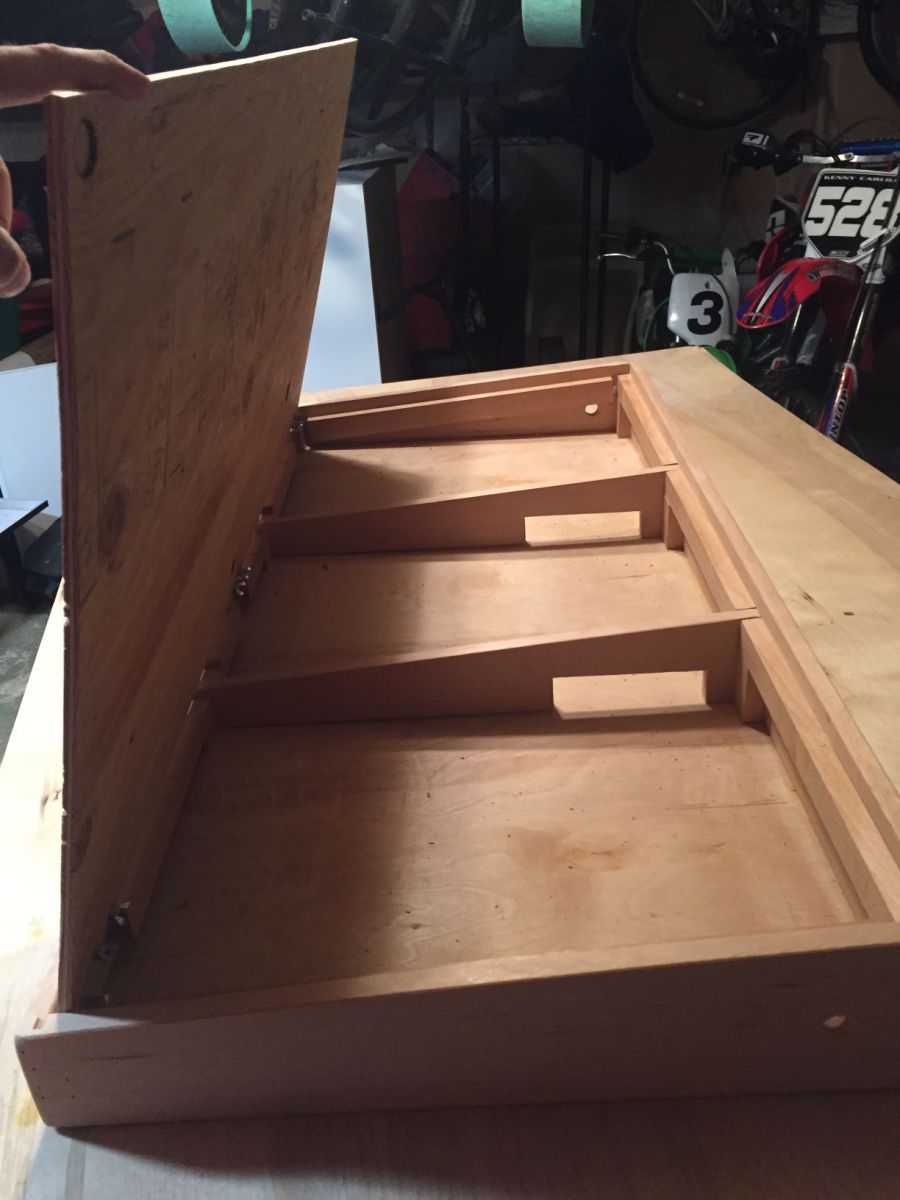
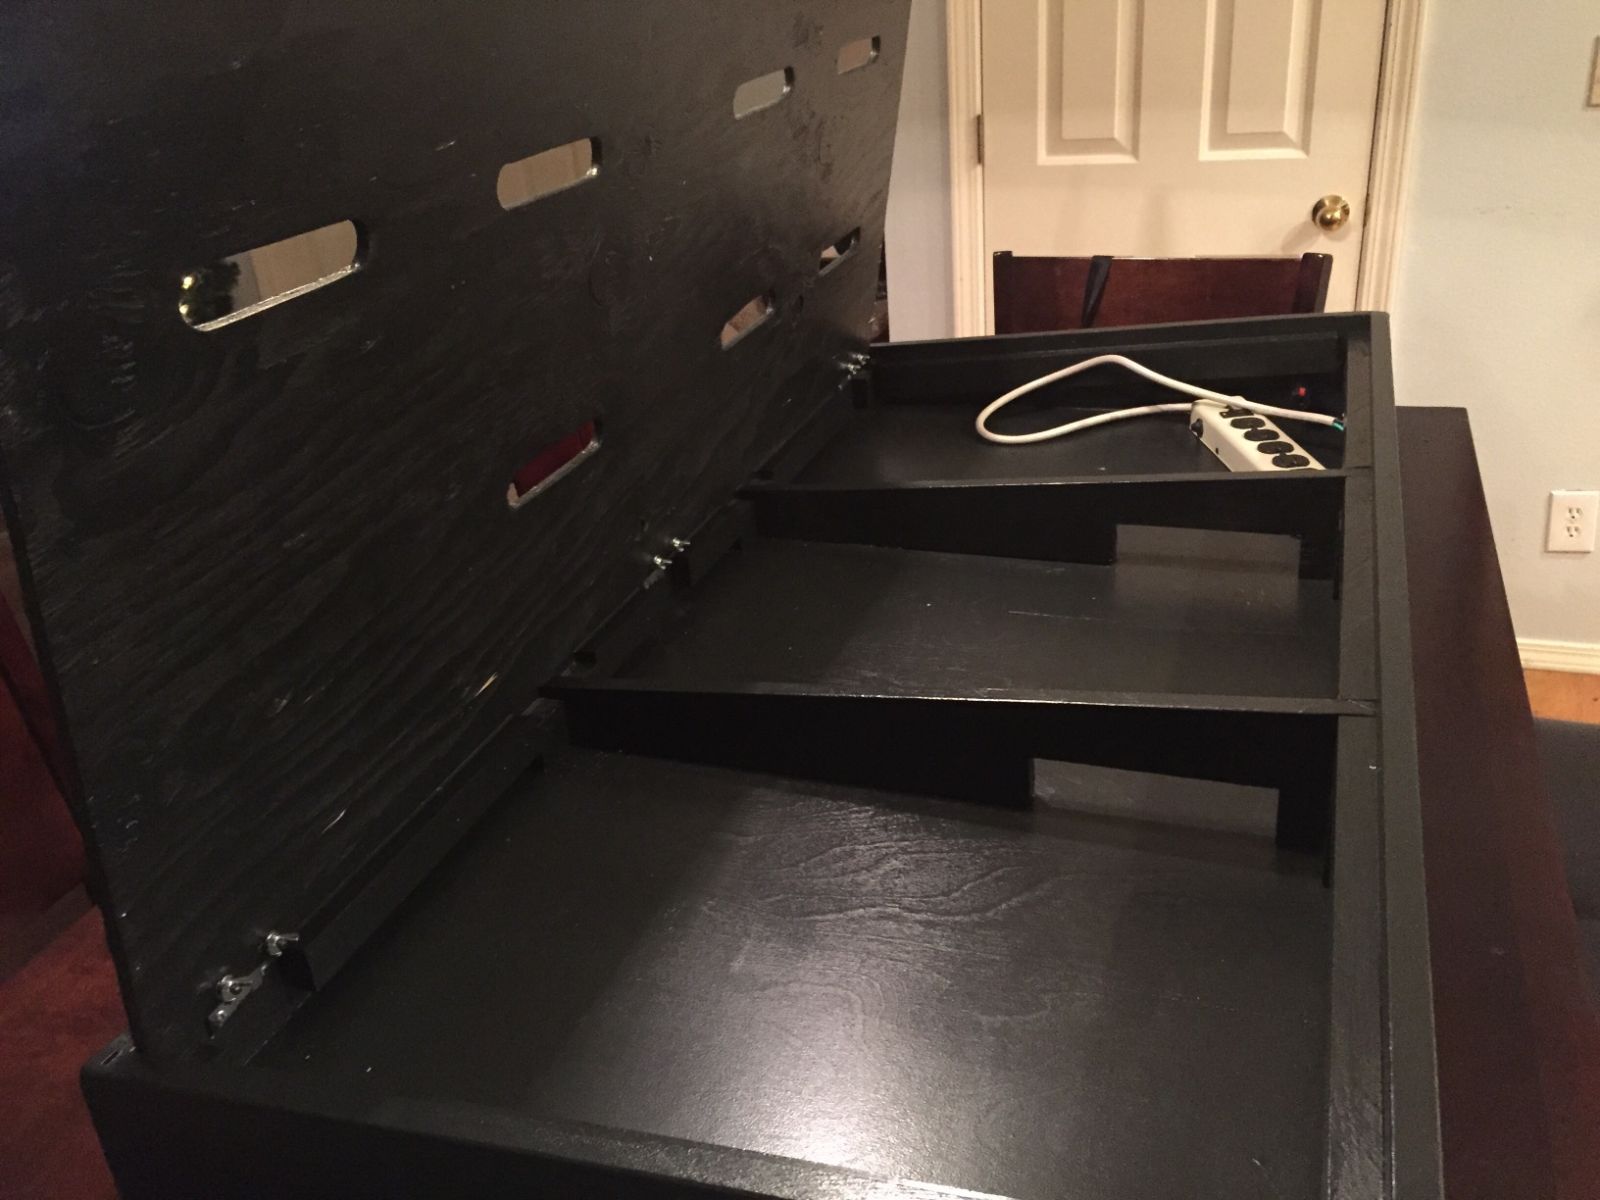
- Large, shallow box with inclined top that lifts to expose the inside for placing power supplies and cables
- Strong enough to support the weight and pressure of using a wah-wah pedal
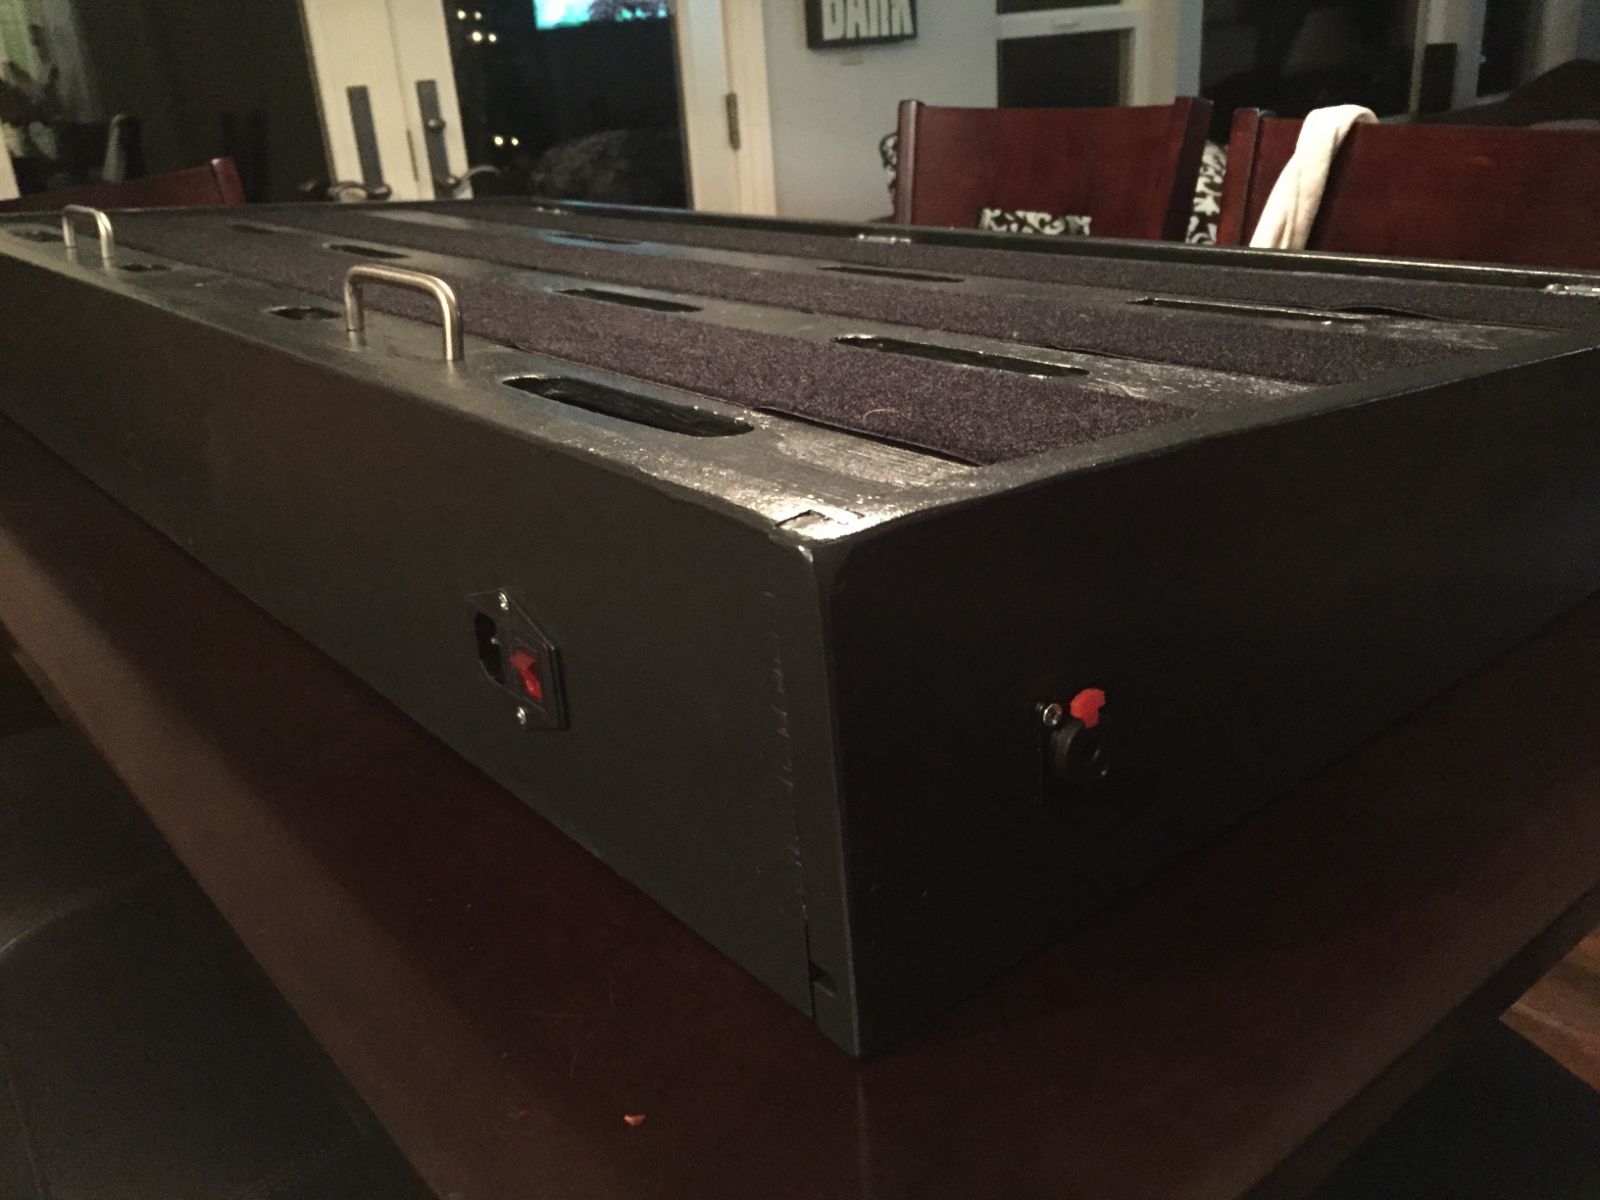
- Permanently affixed input and output jacks for audio routing
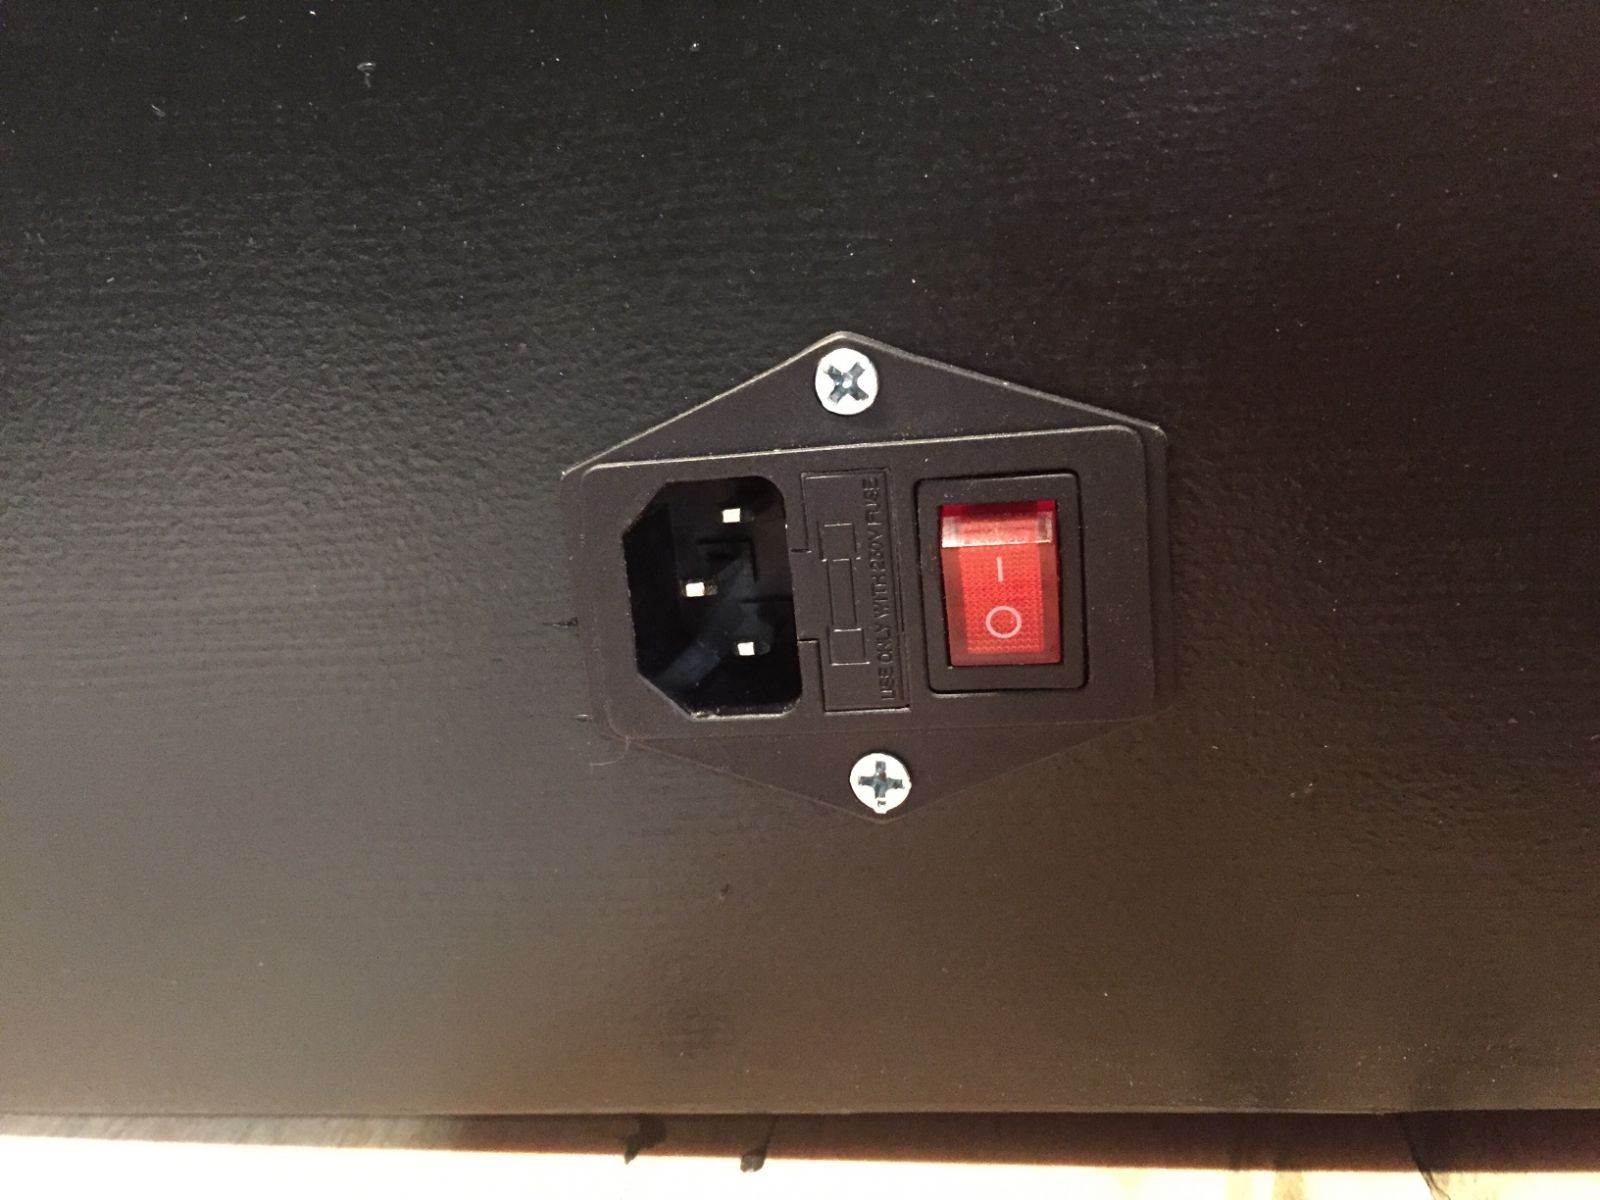
- Permanently affixed power plug with switch and fuse
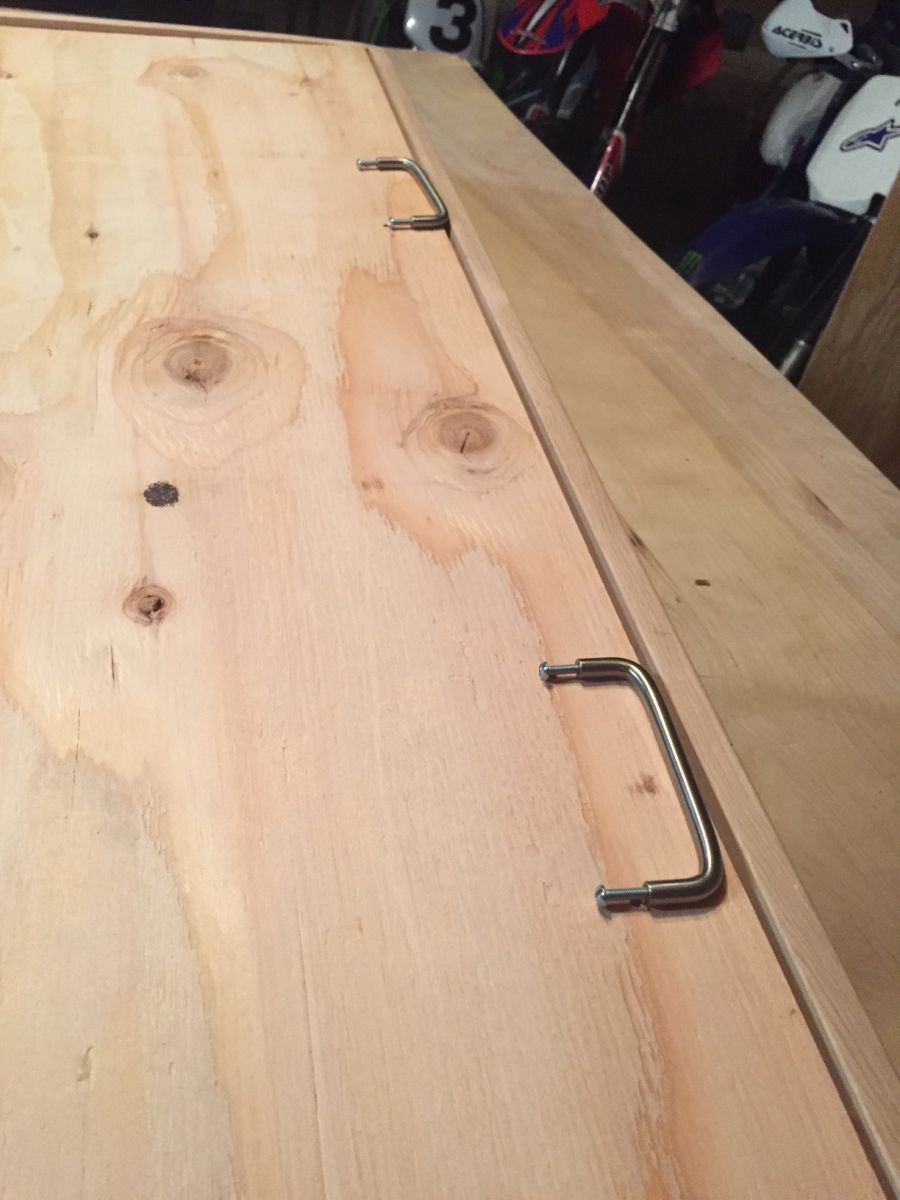
- Handles to lift the top deck of the board to expose the inside
Preparations
I got all of the wood for this project, as well as the hardware (brads, screws, brackets, handles) at The Home Depot, but I also had to get a few specialty items for powering the board and running audio in and out.
- 2 x solderless 1/4” audio jacks (Pedalboard Shop link)
- 1 x Tenflyer 10A 250V Inlet Module Plug Fuse Switch Male Power Socket 3 Pin IEC320 C14 (Amazon link)
I built a tapering jig for my tablesaw to cut the angled sides and supports for the board. Here’s the video I found for how to make a tapering jig for tablesaw out of scrap lumber and some hardware. This jig worked great and was easy to build.
Building
I’m not going to go into all of the detailed steps for how I built the board because it would be too complicated and I didn’t document the entire process. However, I will provide some tips and interesting techniques I used throughout the build.
- I don’t have a dado blade, so I used multiple passes on my table saw to cut out notches, ledges, and grooves.
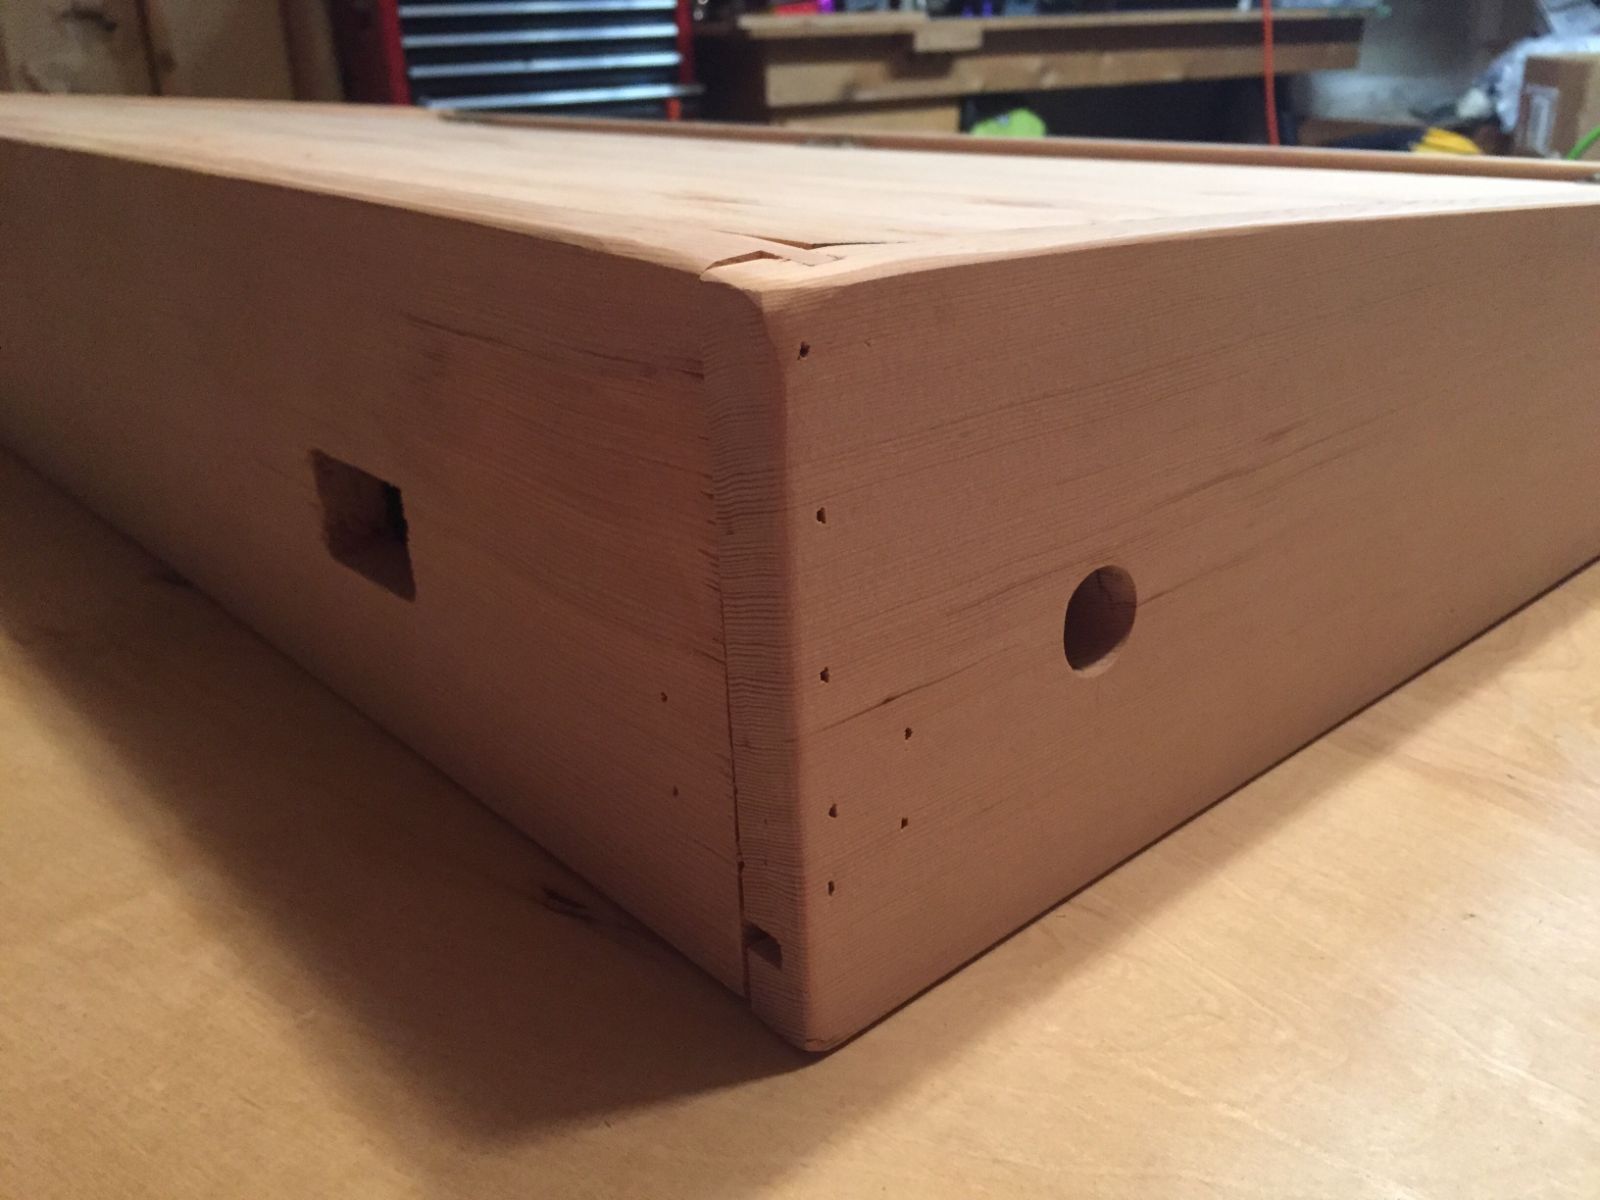
- I used a forstner bit to cut the holes for the audio jacks and I used a hole saw bit to cut the rounded ends of the pass-through slots in the top of the board. I used a jigsaw to cut out the straight parts between the rounded ends of the slots.
- For the power jack, I used the forstner bit to cut out two overlapping rounded holes that were about the right size, then I used a chisel to clear out the rest of the wood to make room for the jack.
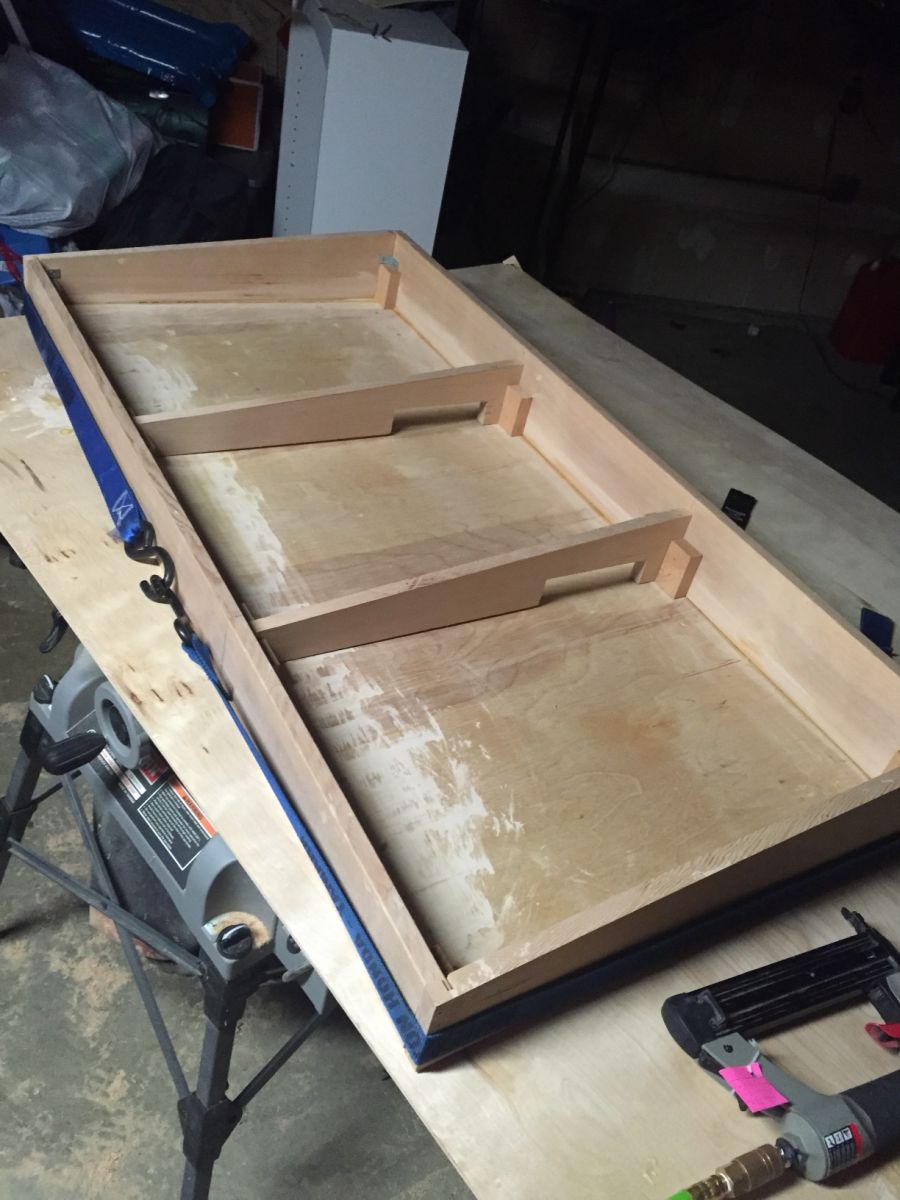
- I used a groove and rabbet joint on the corners to hold the sides together, but I was concerned that this wasn’t enough to support the weight of the board, especially after I broke one of the sides and had to remake it. I used some corner brackets on the inside of the board to help give the joints more support and stability.
- I didn’t have any large clamps to hold the board together while the glue dried, so I wrapped a couple motorcycle tie-downs around the board like a belt. I used an air nailer to secure the corners as well.
- I used furring strips to support the top of the board along the insides of the perimeter.
- I think I had to do 4 or 5 coats of paint to make sure that I got decent coverage everywhere. The painting process was a hassle.
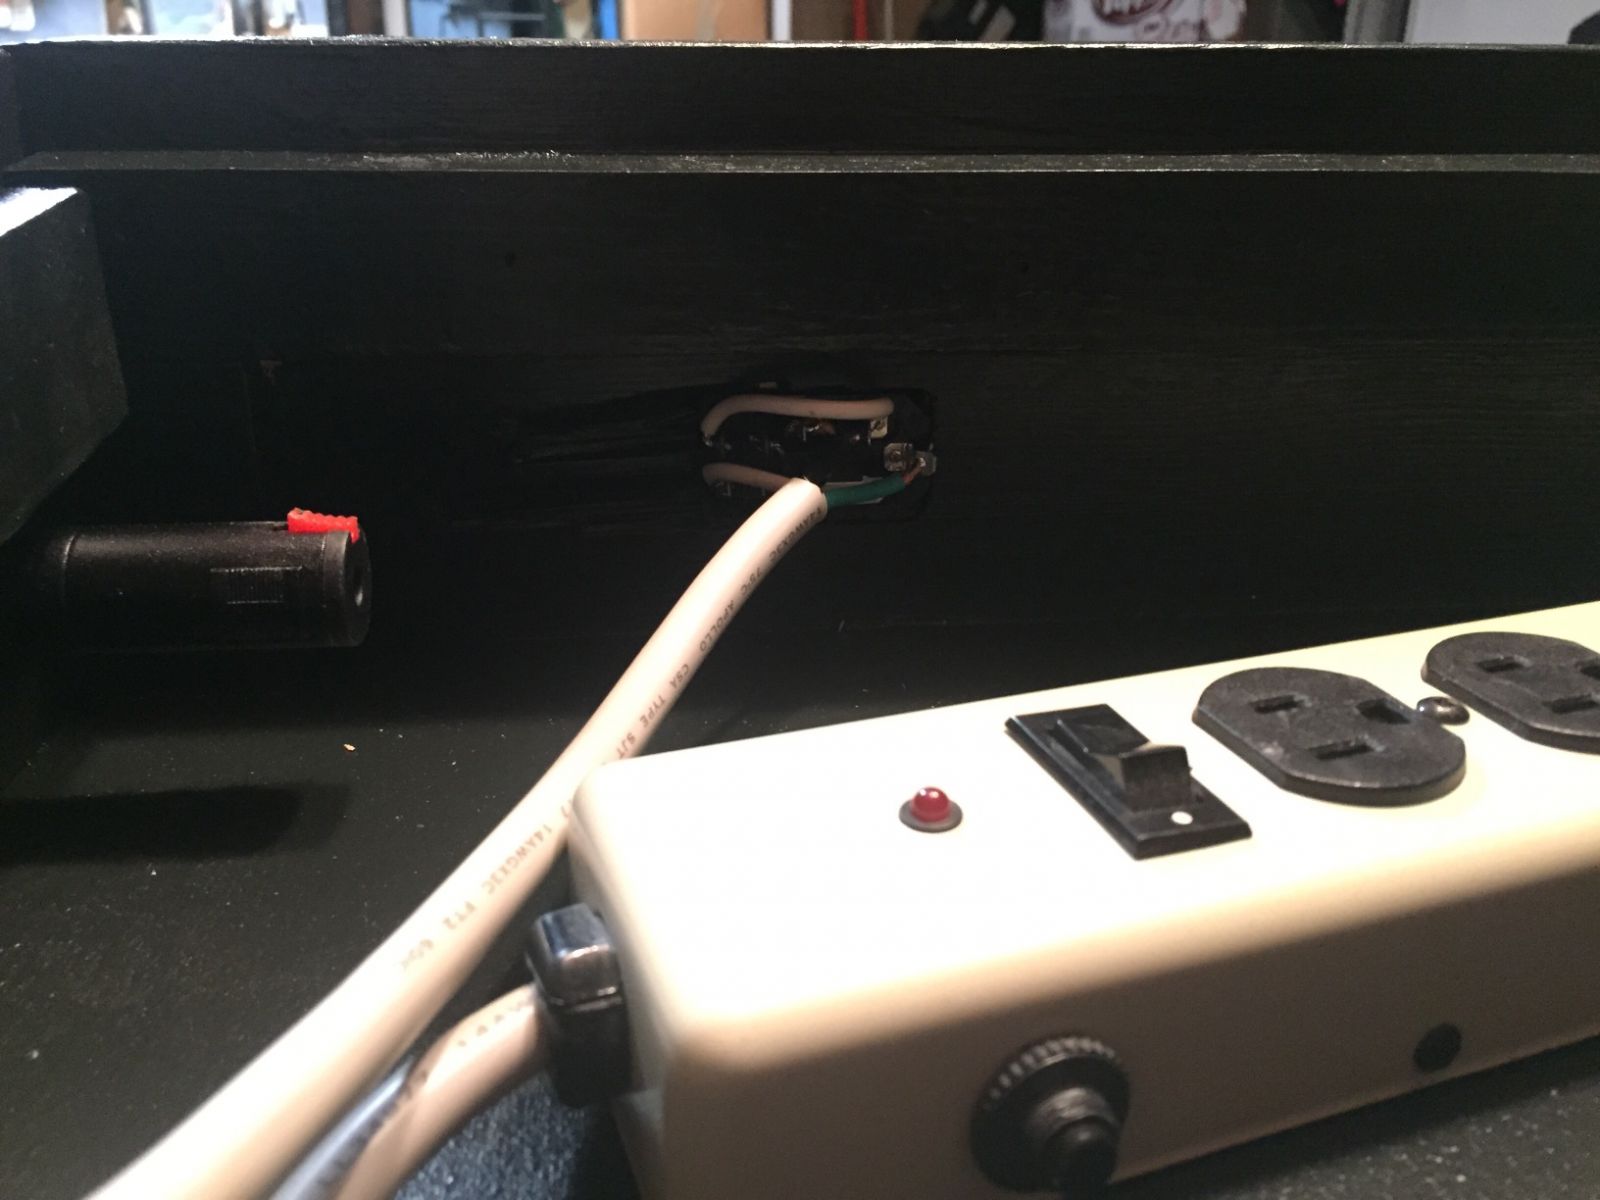
- I used a standard power strip to connect to the other side of the power jack/switch. I cut the prong-end off the cord and wired up the raw cables to the switch and soldered it together. I had to do the soldering after the cord was routed through the hole.
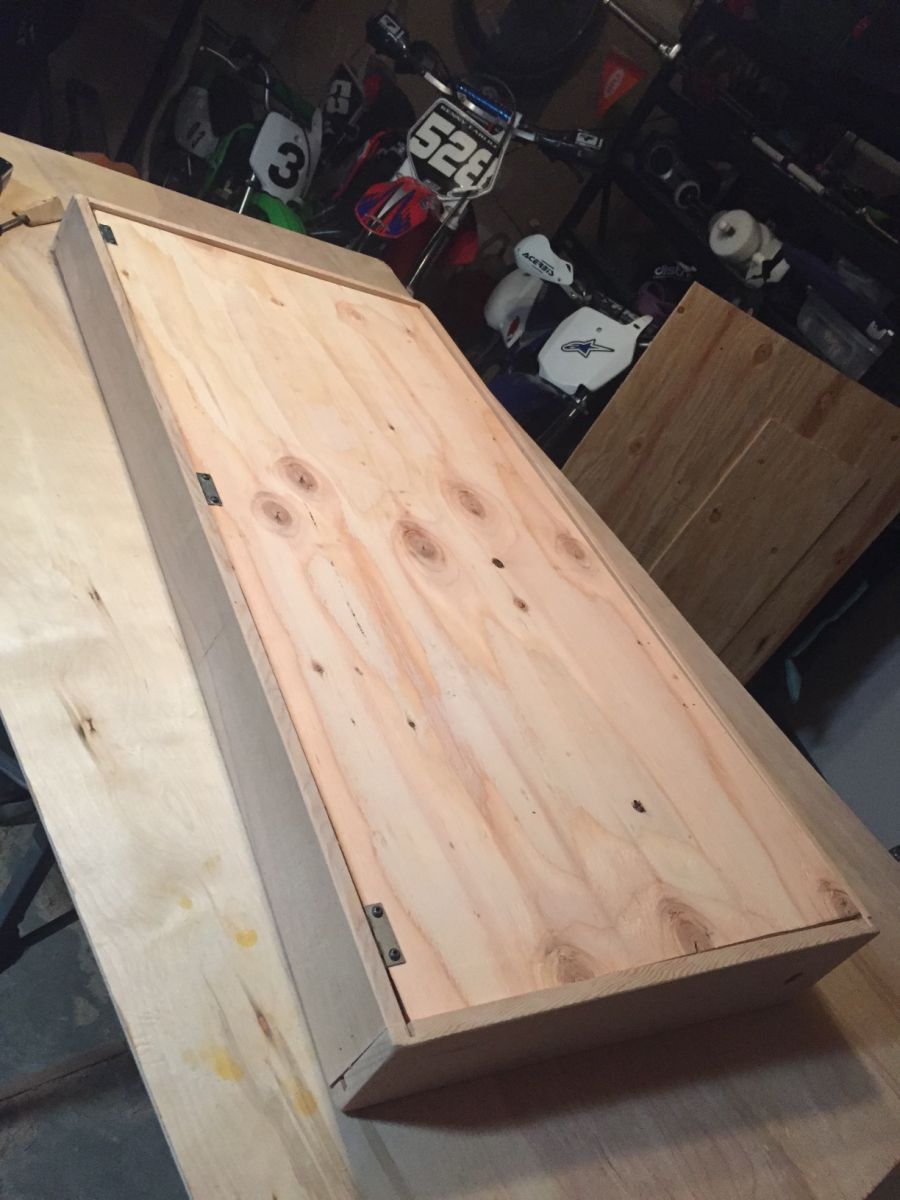
- I nearly attached the top incorrectly to the hinges on my first attempt. I wanted the hinges to attach to the underside of the top, but then I realized that the board would be in the way when trying to open it as it would hit against the front side of the board.
- Lots and lots of sanding. Lots.
Completion
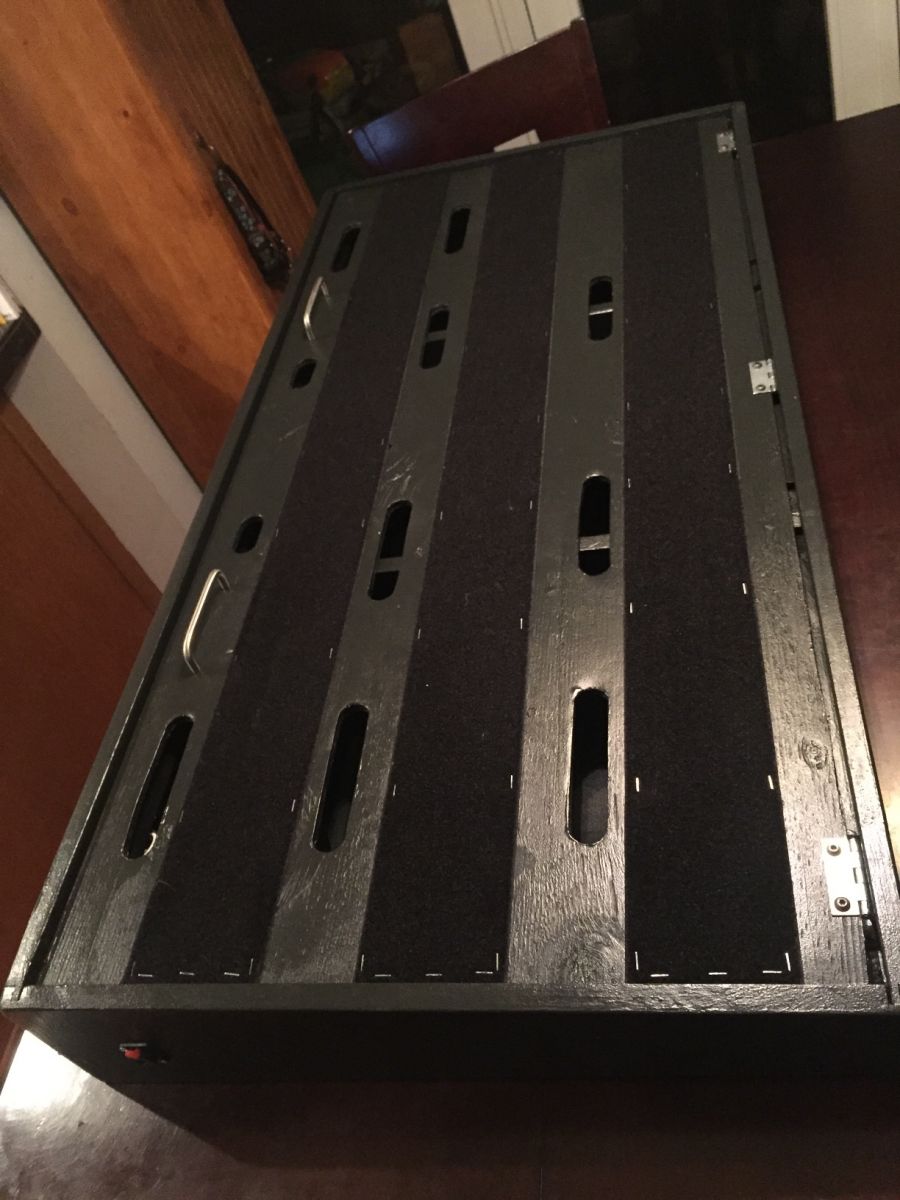
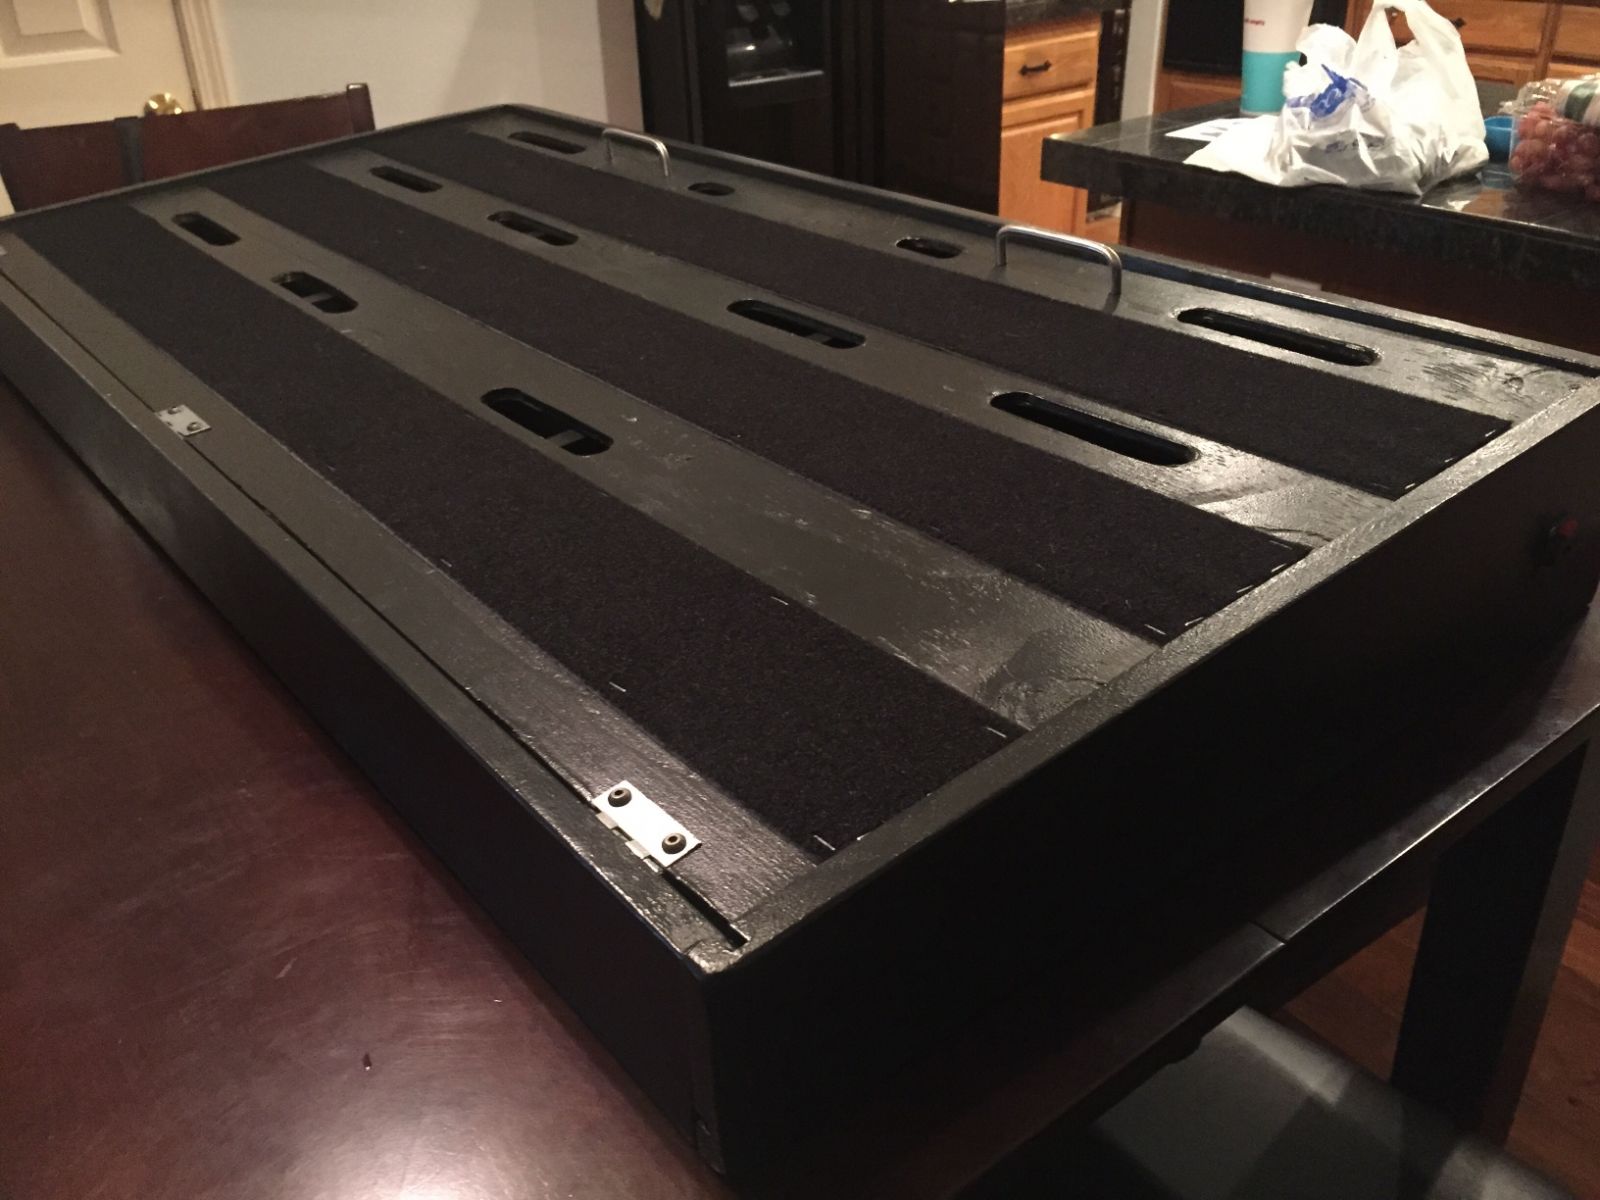
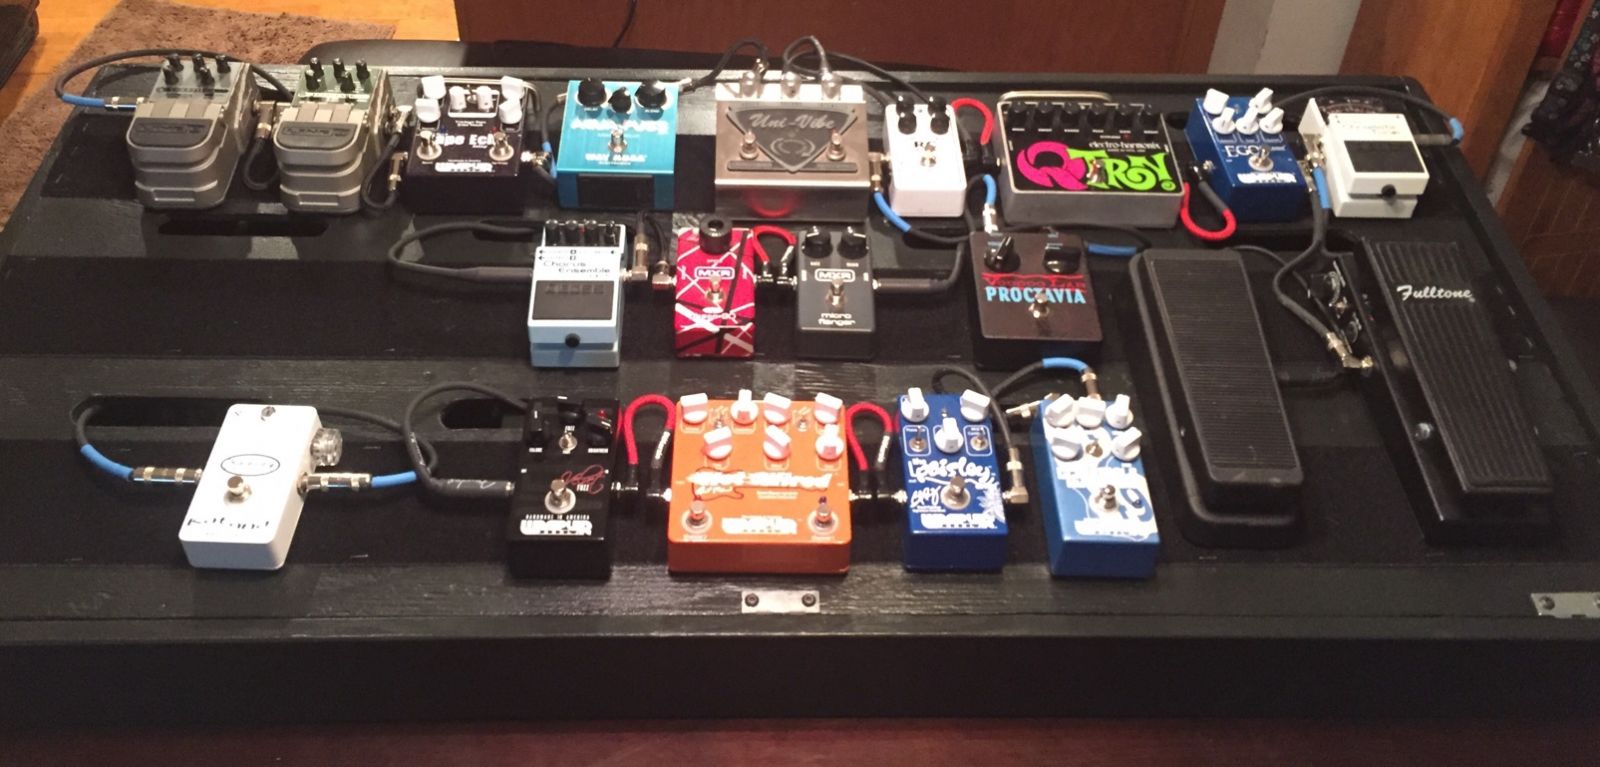
Once the paint had dried, I added the electronics, the hinges, the handles, and the wide non-adhesive loop-sided velcro (stapled down). I spent quite a few hours trying to figure out all the routing of cables and power supplies for my pedals. In the end, I was really happy with how it turned out.
Acceptance
I was really happy with how it turned out…until I tried to move it. I knew it would be big and heavy, but I underestimated how big it would be. I couldn’t even move it from my kitchen to my office without the help of my wife. This was when I started to get worried, but the point was to have a giant, do-it-all board for my home office, not for being portable. However, I could feel myself already having second thoughts about this plan.
A few months after I built the board, or The Beast as I began calling it, I started going over to a friend’s house once a week to jam. I threw some spare pedals on an older, much smaller board that I had and made due with this secondary pedalboard for a couple of weeks. I missed having my best pedals and this secondary board with minor league pedals just wasn’t cutting it. (I should clarify here that those “minor league pedals” were still great. I just meant that they were my second string pedals, not my favorites.) I pulled some of my favorites off The Beast and put them back on my smaller board to take to my friend’s house each week. This was when it really started setting in: my giant studio board was cool, but completely impractical and I’d rather have something more mobile. In addition, I was still having some of the noise issues that I thought having a wooden board would fix. (I later learned that digital and analog pedals on the same non-isolated power chains don’t play well together. Thanks, Wampler Pedals for that tip!)
So, here I am, 9 months later, as I plan my next pedalboard. It’s going to be bigger than my secondary pedalboard, but much smaller and lighter than The Beast. I plan to build it out of aluminum for the top deck, possibly with a wooden frame. I’m also going to try to use adhesive carpet squares instead of strips of velcro on the top of the board. I think I can get full coverage with stronger attachment for less cost this way.
Admitting that I had made a big design mistake with this board was tough. I’m saddened by the wasted effort and time that I put into building this monster, but it was a great learning experience and I always enjoy working with wood. Plus, now I’ve made mistakes on a large scale pedalboard that will help me build the right-size board. I still think there are a lot of great techniques and designs here that can be used by someone, but probably on a more reasonably sized pedalboard, maybe The Beast Jr. :)
